Homemade maple syrup ice cream
For many people, cold and frozen desserts become considerably less appealing in the winter than they would be during the warmer months. Still, the right combination of flavors can make ice cream just as enjoyable in winter as it would be in the middle of July. The secret exists not only in finding a flavor that matches the season, but also in making a fun project out of the preparation. Whether you’re trying to bone up on your knowledge of dessert recipes for your online cooking school exams or just want a fun and delicious project for a day at home with the kids, this maple syrup ice cream is sure to fit the bill. Here’s what you’ll need to make this tasty treat in the comfort of your own home:
Ingredients:
-2 cups of whole milk
-1 tablespoon of vanilla extract
-1 large egg, yolk and whites
-2 egg yolks
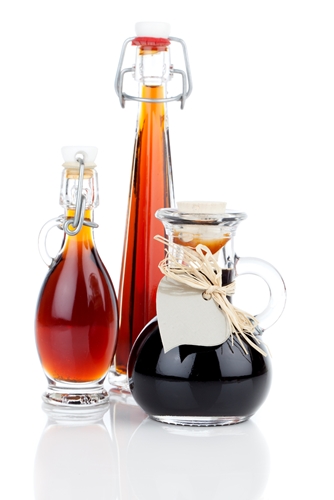
-1 cup of natural maple syrup
-Ice cream maker for churning ingredients
Instructions
1) Get a large saucepan and pour the two cups of whole milk into it. Once completed, bring the milk to a slow and light simmer over a low light.
2) In a large mixing bowl, combine the two egg yolks and large egg. Mix these together until the consistency is even. Then stir the cup of natural maple syrup into the mixture.
3) At this point, the whole milk should be simmering. If so, take the saucepan off of the flame and slowly pour it into the egg and maple syrup mixture. As you pour, whisk the ingredients of the mixing bowl so as to maintain an even consistency.
4) Place the sauce pan back on a low light and slowly pour all of the ingredients back into it.
5) Simmer the mixture on a low light for several minutes until it begins to thicken, but remove it from heat before it becomes fully viscous. The mixture should be less thick than a pudding or icing but thick enough to stay on a spoon when it is held vertically.
6) Turn off the burner and add the tablespoon of vanilla extract into the mixture in the saucepan. Stir evenly until the extract is absorbed entirely.
7) Next, find a shallow tray or bowl and move the mixture from the saucepan to the container. Cover the container with saran wrap or aluminum foil and refrigerate until its cold.
8) When the mixture has chilled through, you can transfer it to your ice cream maker and churn it thoroughly. Afterwards, you should have enough ice cream for six to eight servings.
Notes and alterations
-If you don’t have an ice cream maker, you can churn the mixture by hand as long as you ensure that you keep it evenly chilled throughout the process. Also, considering the strong maple flavor of the ice cream, it’s complemented well by pralines or walnuts. Shaved coconut also makes a strong addition.
(Recipe from www.bakingbites.com)